Apple Photos 101: How to View, Save & Edit Burst Shots on Your iPhone
Whether you mean to or not, taking burst photos is super easy on the iPhone. In the Camera app, just compose your photo, tap-and-hold the shutter button, and watch the number of pics go up and up until you take your finger off the screen. However, finding that one special keeper out of all of them in the Photos app isn't as intuitive as taking them in the first place.Bursts are best suited for action shots, so you can pick and choose the best angles from fast movement in front of your camera. However, I accidentally hold the shutter button down all the time when taking still shots, causing me to have to find the best one to keep even when I don't want to do all that extra work. Whatever your case may be, here's how it all works.Don't Miss: How to Hide Photos & Videos from Your iPhone's Camera Roll
Step 1: Finding Your Burst PhotosFirst things first, when you take a burst of photos, they will be saved in your Photos app just like every other photo you take with Apple's default shooter. You can see them in the main "Camera Roll" (or "All Photos" for some) album, in the "Bursts" album that's automatically created when you have some, or in any of the auto-created folders that apply such as "Selfies" or "Places." Additionally, you can see them in the "Moments" view in the "Photos" tab.In all of these sections, you can tell right away that they are burst photos because the thumbnail image for the group will be slightly smaller than the rest of the thumbnails, and it will show two other images cascaded behind it. The burst photos won't show up individually to prevent unnecessary clutter and confusion.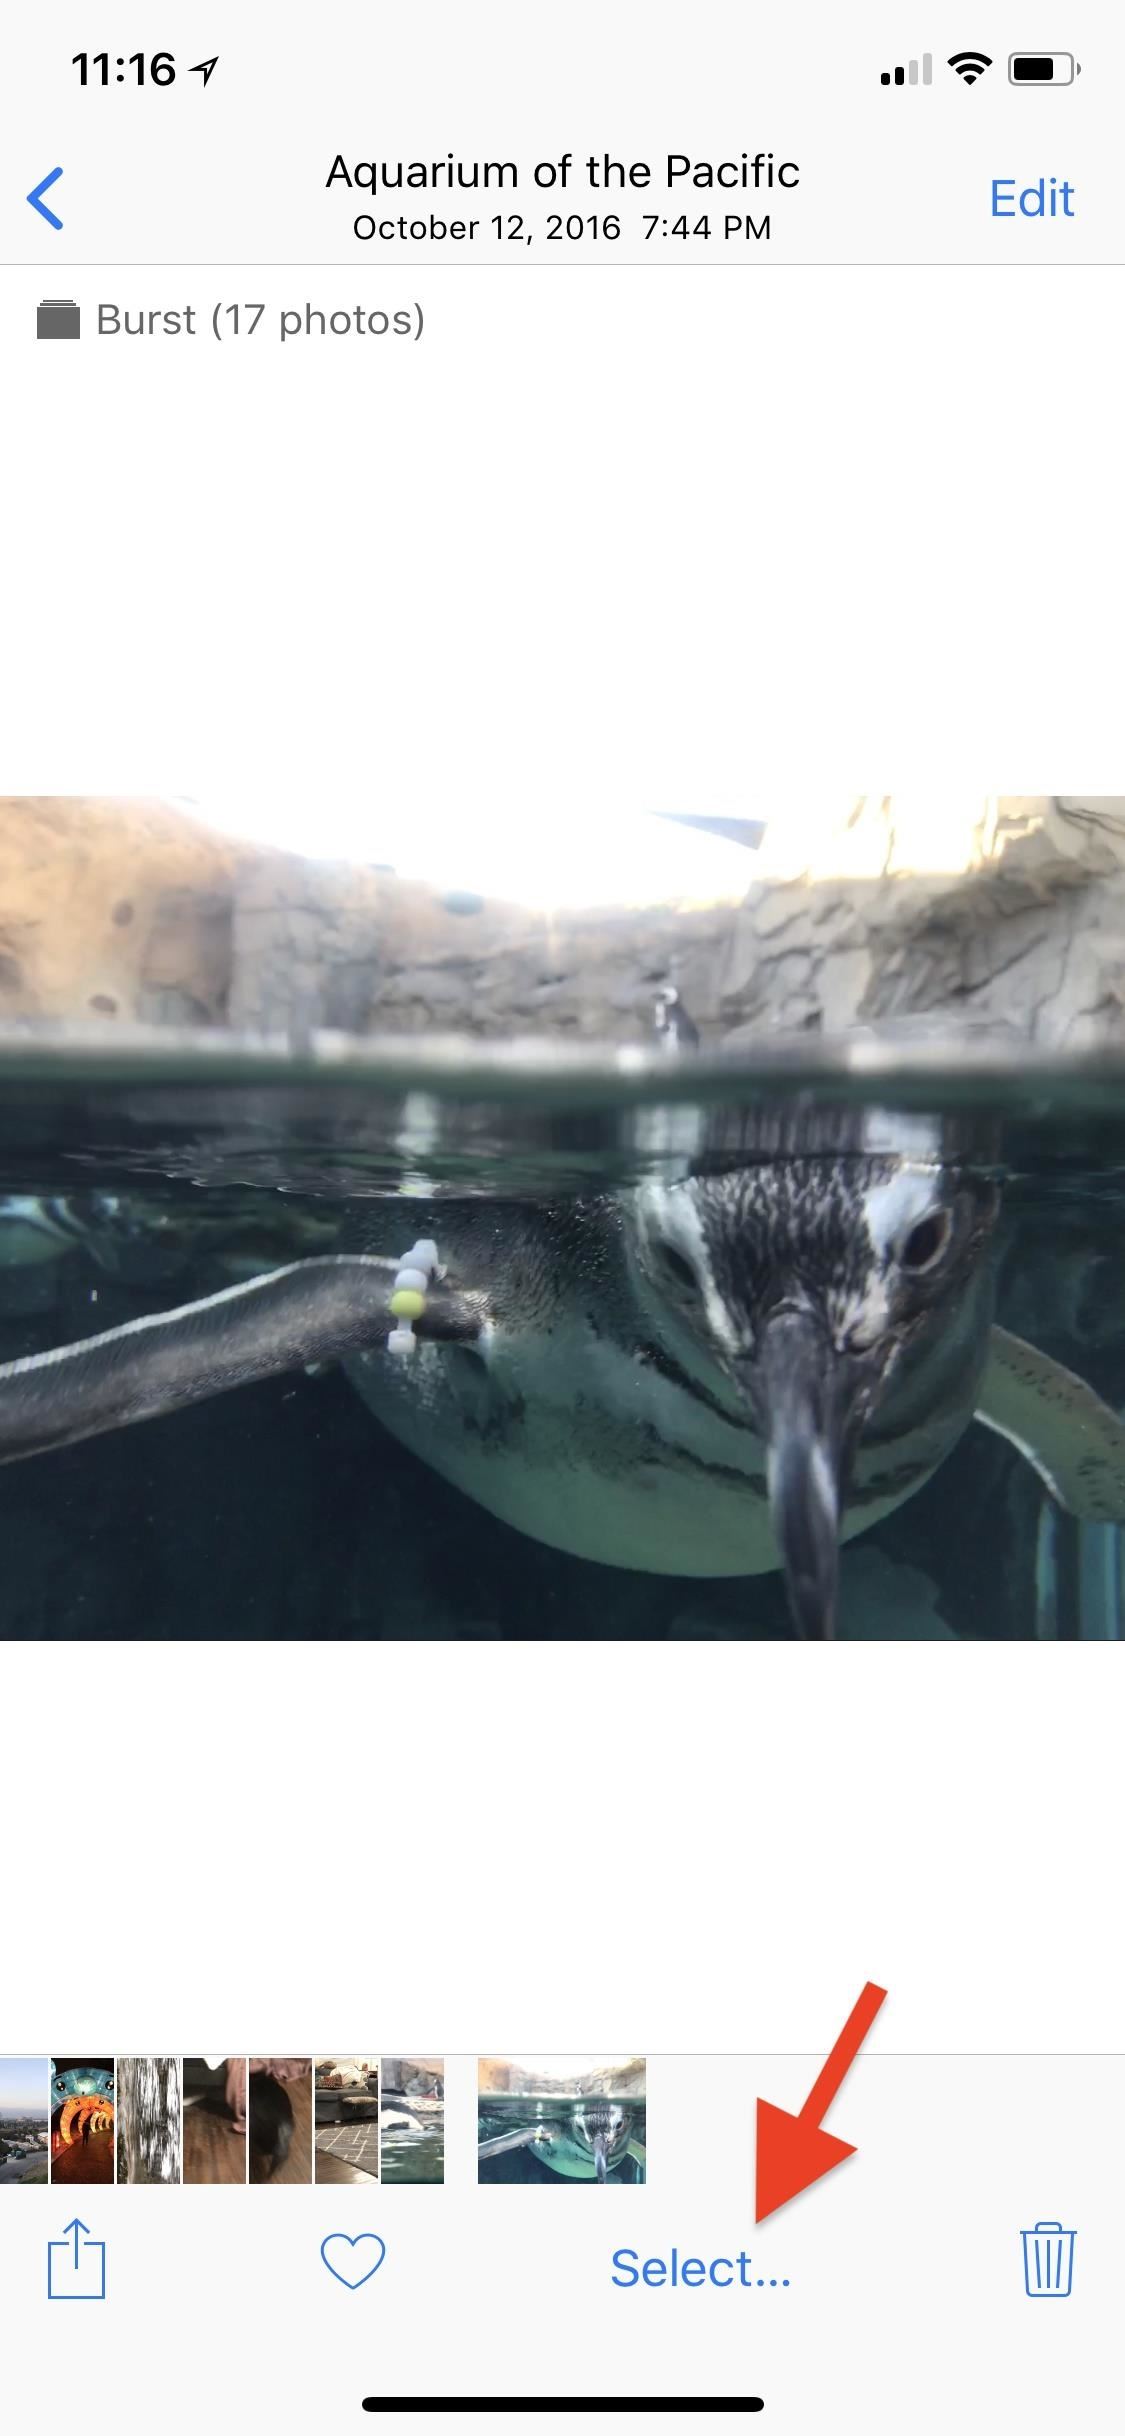
Step 2: Viewing Photos in Your Burst GroupAs you can tell, when you tap on a group of bursts from one of the locations above, you will only see that one image that's the main thumbnail.In order to find the one or two photos you want to keep out of the bunch, you would tap on the "Select" button in the menu bar. This brings up the carousel view. Here, you can swipe through and view all of your images in the group, as well as pinch to zoom in and out of each one.You also might notice in the timeline at the bottom, that there's a little gray dot underneath the tiny image that Apple automatically selects as the main one for the burst group. In some cases, you might see gray dots under other image thumbnails; These indicate that Apple's AI thinks those images are good (even if they aren't). One downside here is that you can't choose a new image to be the main thumbnail of your burst group. However, you couldn't select a new Live Photo thumbnail image before either and now you can, so maybe Apple will build a way for us to do so in the near future.
Step 3: Saving Photos in Your Burst GroupIf you couldn't tell already, you can just tap on each image in the group that you want to keep, and each one will show a checkmark in the corner to signify it's been chosen. In the tiny timeline bar at the bottom, a checkmark overlay will also appear on the images that are selected in the group.When you've selected all of the images you want to save, just tap on "Done." Now you'll be presented with two very different options: "Keep Everything" in the group or "Keep Only # Favorite/s." What you choose here is very important.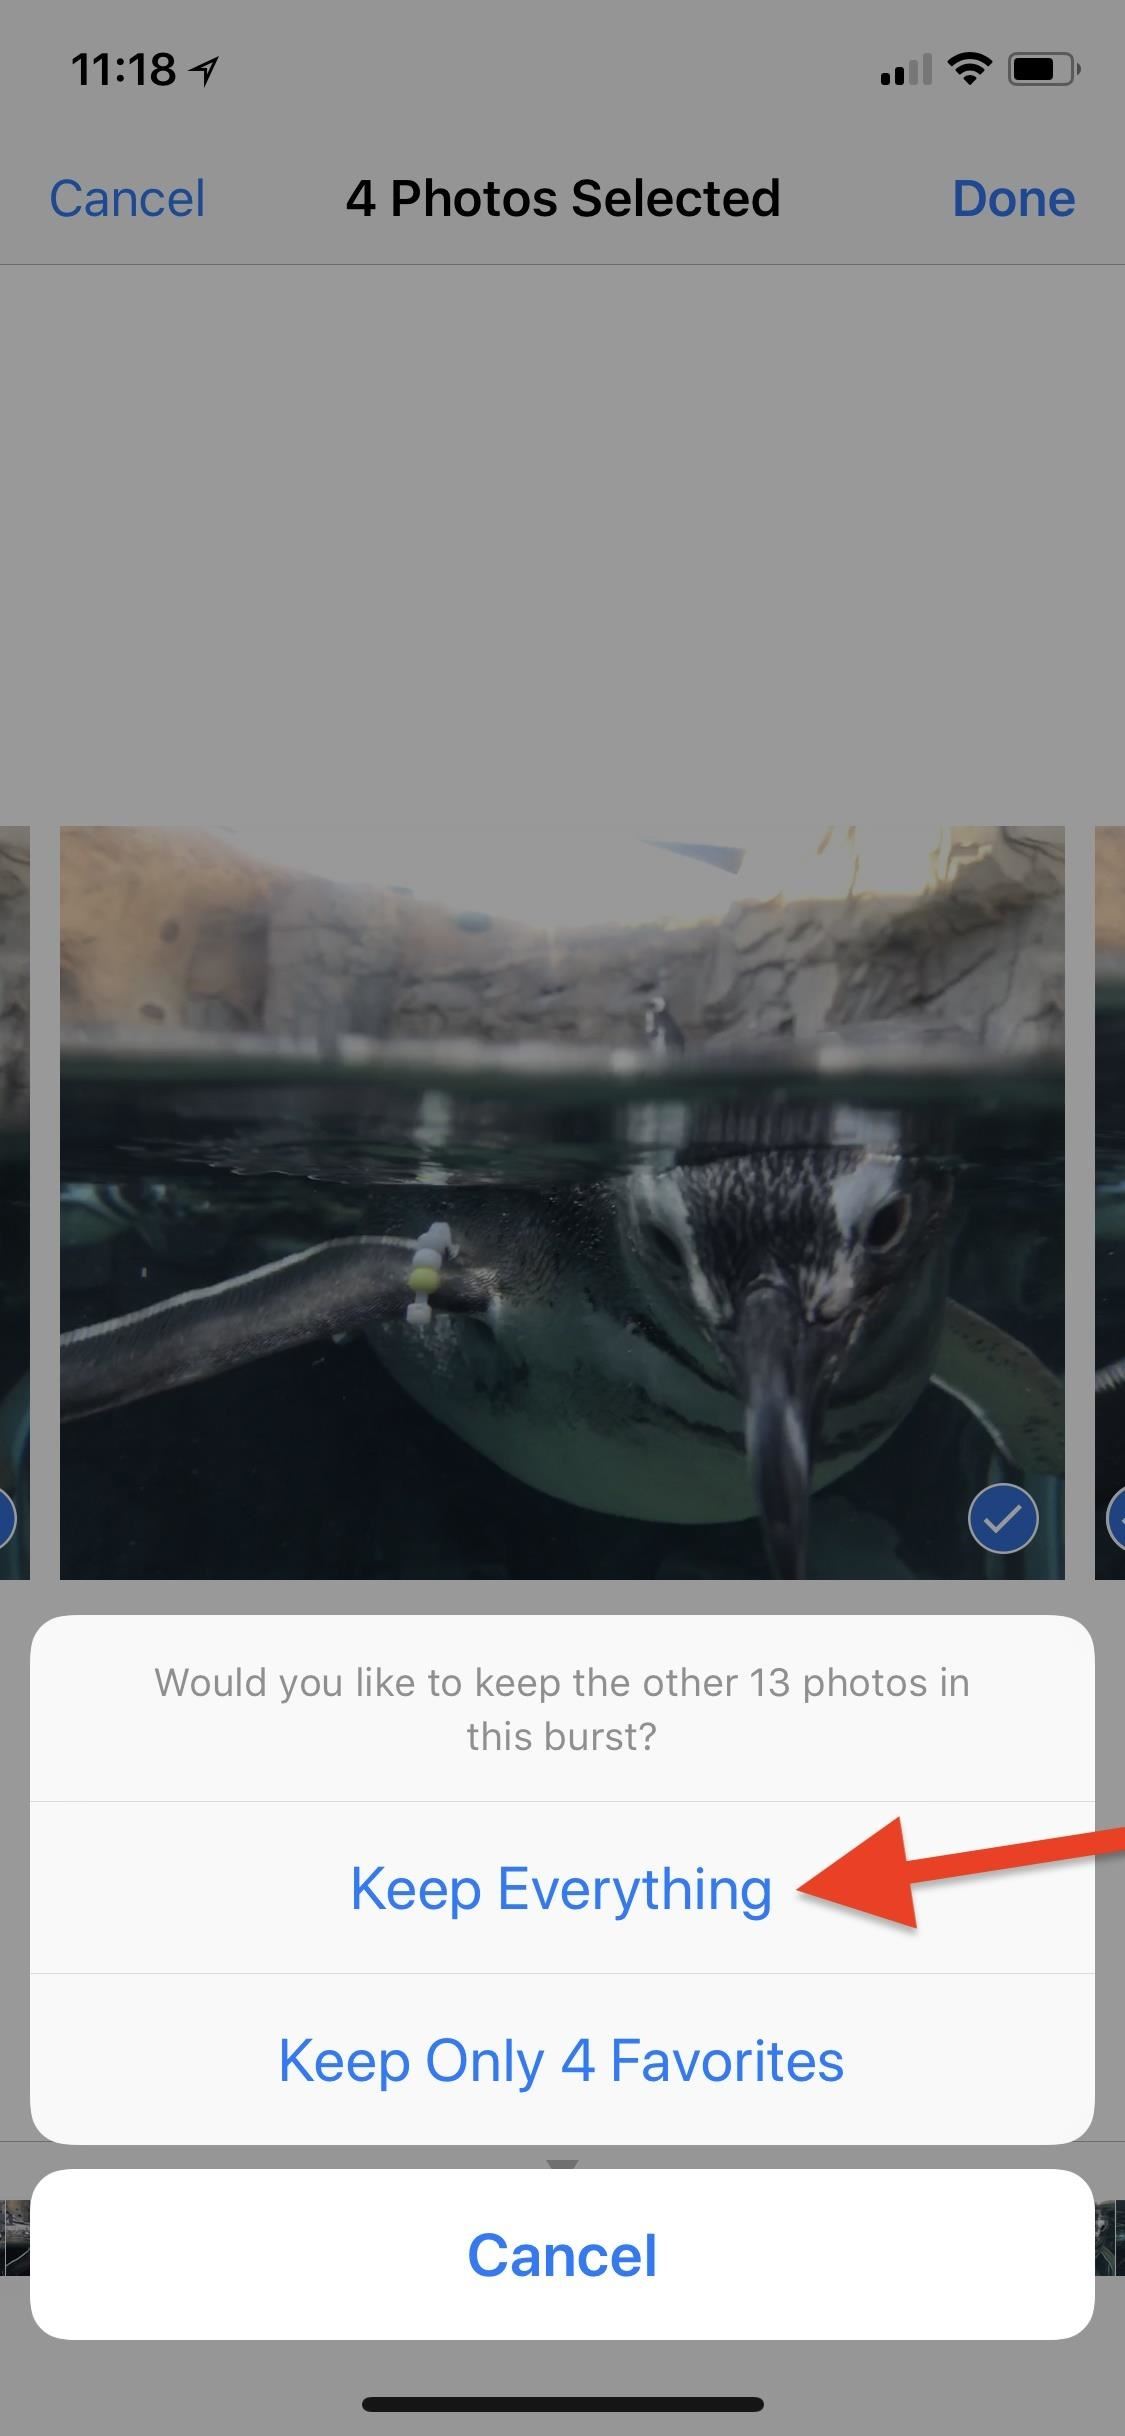
Keeping EverythingIf you choose to keep everything, all of the photos you selected will now appear as single images in your Photos app in your "Camera Roll" and elsewhere right after the burst group, which stays put. When going back into selection menu of the burst group, you'll notice that all of the images you selected are still selected, and all of the ones that aren't, well, aren't. You are free to deselect and select new photos whenever you want now, and when you hit "Done," the photos will adjust in your albums automatically, disappearing and/or appearing, depending on what changes you made.Don't Miss: How to Drag & Drop Photos on Your iPhone in iOS 11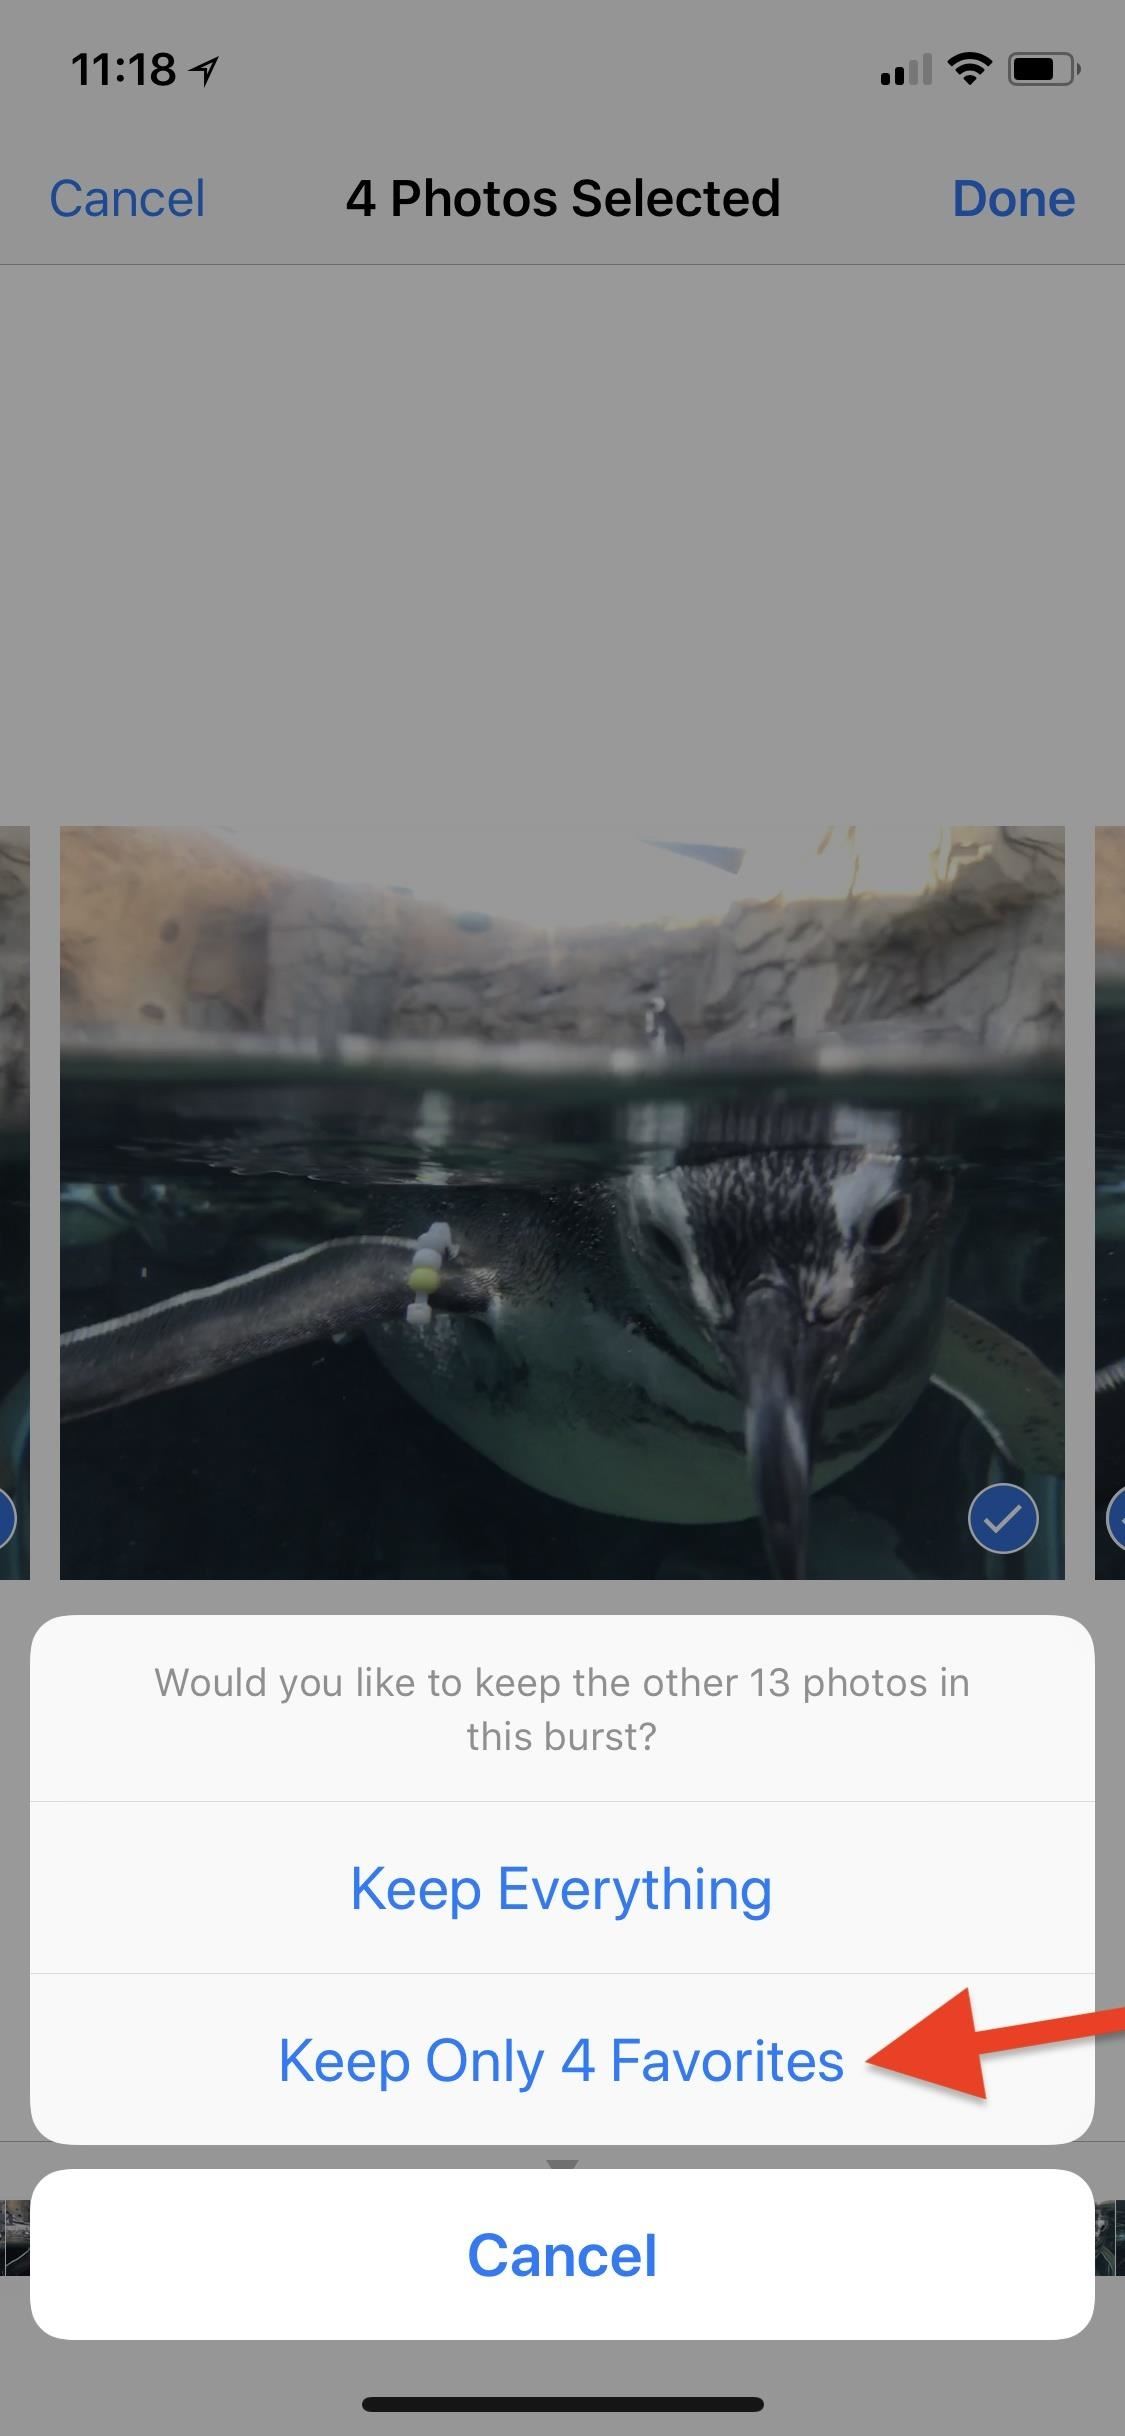
Keeping Only Your FavoritesFor those times when you're sure you never want to see the unselected items ever again, choose the option to keep only the ones you favorited (i.e., checked).If you previously selected "Keep Everything," this option will no longer appear unless you deselected everything in the burst group first, hit "Done," and then go back to the selection menu to choose your real favorites.Once you tap on "Keep Only # Favorite/s," all of the photos you selected will pop out of the burst group and into their own spots in your albums. The burst group itself will go straight to the "Recently Deleted" album where it will automatically delete after 30 days. If you chose to select all of the photos in the group, then hit "Keep Only # Favorites," all photos will appear in the albums separately but nothing will show up in the deleted album.
Step 4: Editing Your Chosen PhotosIf you didn't go into the selection menu at all, you can edit the automatically chosen image just like any other image. Just hit "Edit" and work your magic. Otherwise, the only way to edit the other images is to select them using Step 3 above, then edit them individually. If you chose "Keep Everything," all of the saved edits will also appear in the burst group.One part that's not great about editing shots in or from a burst group is that they are not Live Photos, which means you can't make use of iOS 11's newer features that lets you Loop, Bounce, or make a long exposure. And that's all there is to it. It's pretty simple once you understand the difference between keeping everything or just your favorites from the burst.Don't Miss: The 8 Best New Features in iOS 11's Photos App for iPhoneFollow Gadget Hacks on Facebook, Twitter, YouTube, and Flipboard Follow WonderHowTo on Facebook, Twitter, Pinterest, and Flipboard
Cover photo and screenshots by Justin Meyers/Gadget Hacks
Whether you mean to or not, taking burst photos is super easy on the iPhone. In the Camera app, just compose your photo, tap-and-hold the shutter button, and watch the number of pics go up and up until you take your finger off the screen. However, finding that one special keeper out of all of them
How to View and Edit Burst Photos on iPhone - UnlockBoot
You can create photo masterpieces right on your iPhone, iPad, and iPod touch. After you take your photo, open it in the Photos app and tap Edit. Then you can adjust your photo's size, angle, light, and more. If you don't like how your changes look, tap Cancel and you can revert back to the original.
How To Use iPhone Burst Mode For Amazing Action Photos
Burst Mode made it possible to shoot the whole event and then save out the one shot that captured the tree at its most vivid during its brief illumination. Here's how to view your burst photos
Take and edit photos with your iPhone, iPad, and iPod touch
Choose how you want to share your photo. Note that if you share via Mail, the Live Photo is sent as a still image. When you receive a Live Photo on your iPhone, iPad, or iPod touch via Messages, tap the photo to open it, then firmly press and hold to see it come to life. If you're using Messages on your Mac, double-click the Live Photo to open it.
iOS - Photos - Apple
your photos private. One of the best things about Photos is how it protects your privacy. iOS is designed to take advantage of the powerful processor built into every iPhone and iPad. So when you search your photos, for instance, all the face recognition and scene and object detection are done completely on your device.
The group is a sequence of photos taken at a rate of ten frames per second. I have often taken burst photos unintentionally when I leave my finger on the shutter button for a beat too long. More Info: How to View, Save & Edit Burst Shots on Your iPhone
Take and edit Live Photos - Apple Support
If you stumble across a great candid photo or other once-in-a-lifetime shot and want to be certain you have plenty of images to choose from, Burst Mode on iPhone is the way to do it. Once you take a photo in Burst Mode on iPhone, all the pictures are shown together as one photo in the Photos app. How to Take Burst Photos. Open your Camera app.
How to Take Burst Photos on iPhone and iPad - MacRumors
Apple Photos 101: How to View, Save & Edit Burst Shots on
But when I take a burst of photos on the iPhone 5s, only one of them is uploaded. I have to go in and tap Select Favorites and mark each one. How can I change it to mark all photos in the burst as Favorites, or get Dropbox to upload all of them? I find a computer with a big screen much better suited to the task of comparing photos and picking one.
How to Turn Burst Photos into GIFs on Your iPhone « iOS
How to View and Edit Burst Photos on iPhone Burst shot is an amazing feature of iPhone that allows you to capture your special moments with maximum available capturing. In burst shot, you have to touch and hold the shutter button on your iPhone, and it will take a lot of photos one after another.
iPhone Burst Mode: How to Take, View, & Save Burst Photos on
Our iPhone Photo Academy online course shows you how to take incredible iPhone photos that everyone adores and that you'll be proud to look at years later. Below is a quick recap of how to use burst mode on your iPhone: How To Shoot Burst Photos On Your iPhone. Step 1: Open the built-in iPhone Camera app.
dropbox - How can I upload all photos from a burst on the
0 komentar:
Posting Komentar