How To: Move the Clock Back to the Right Side on Your Galaxy in Android Pie
Android 9.0 Pie moved the status bar clock from the right corner to the left to accommodate phones with notches, but there's one major downside for Samsung users: since no Galaxy phones have a notch, all this did was take away space for the notification icons that would otherwise start from the left corner.Functionality aside, Android's status bar clock has always been on the right, so many people have complained about the iOS-style positioning. Thanks to the latest updates to Samsung's Good Lock plugin and a useful app from developer Zachary Wander, though, there are now two ways to move the clock back to where it belongs, and neither require roots.To be clear, this method will not work on other devices running Android Pie — only Samsung phones running One UI.
Method 1: Good LockThe first method is the easiest and it uses an official app from Samsung called Good Lock. The Pie-compatible version of this app is still rolling out in some regions, so you may have to sideload it. If you're comfortable with ADB, however, Method 2 below uses a different app that has a lot of extra features you might be interested in.
Step 1: Install Good LockTo start, open the Galaxy Store (you'll find this app in your app drawer) and search for "Good Lock," then tap the top result and hit "Install." Alternatively, you can just tap the link below from your phone.Galaxy Store Link: Good Lock (free) If you're not finding Good Lock, it's likely not available in your region yet. You can sideload the app using the link belowAPK Link: Good Lock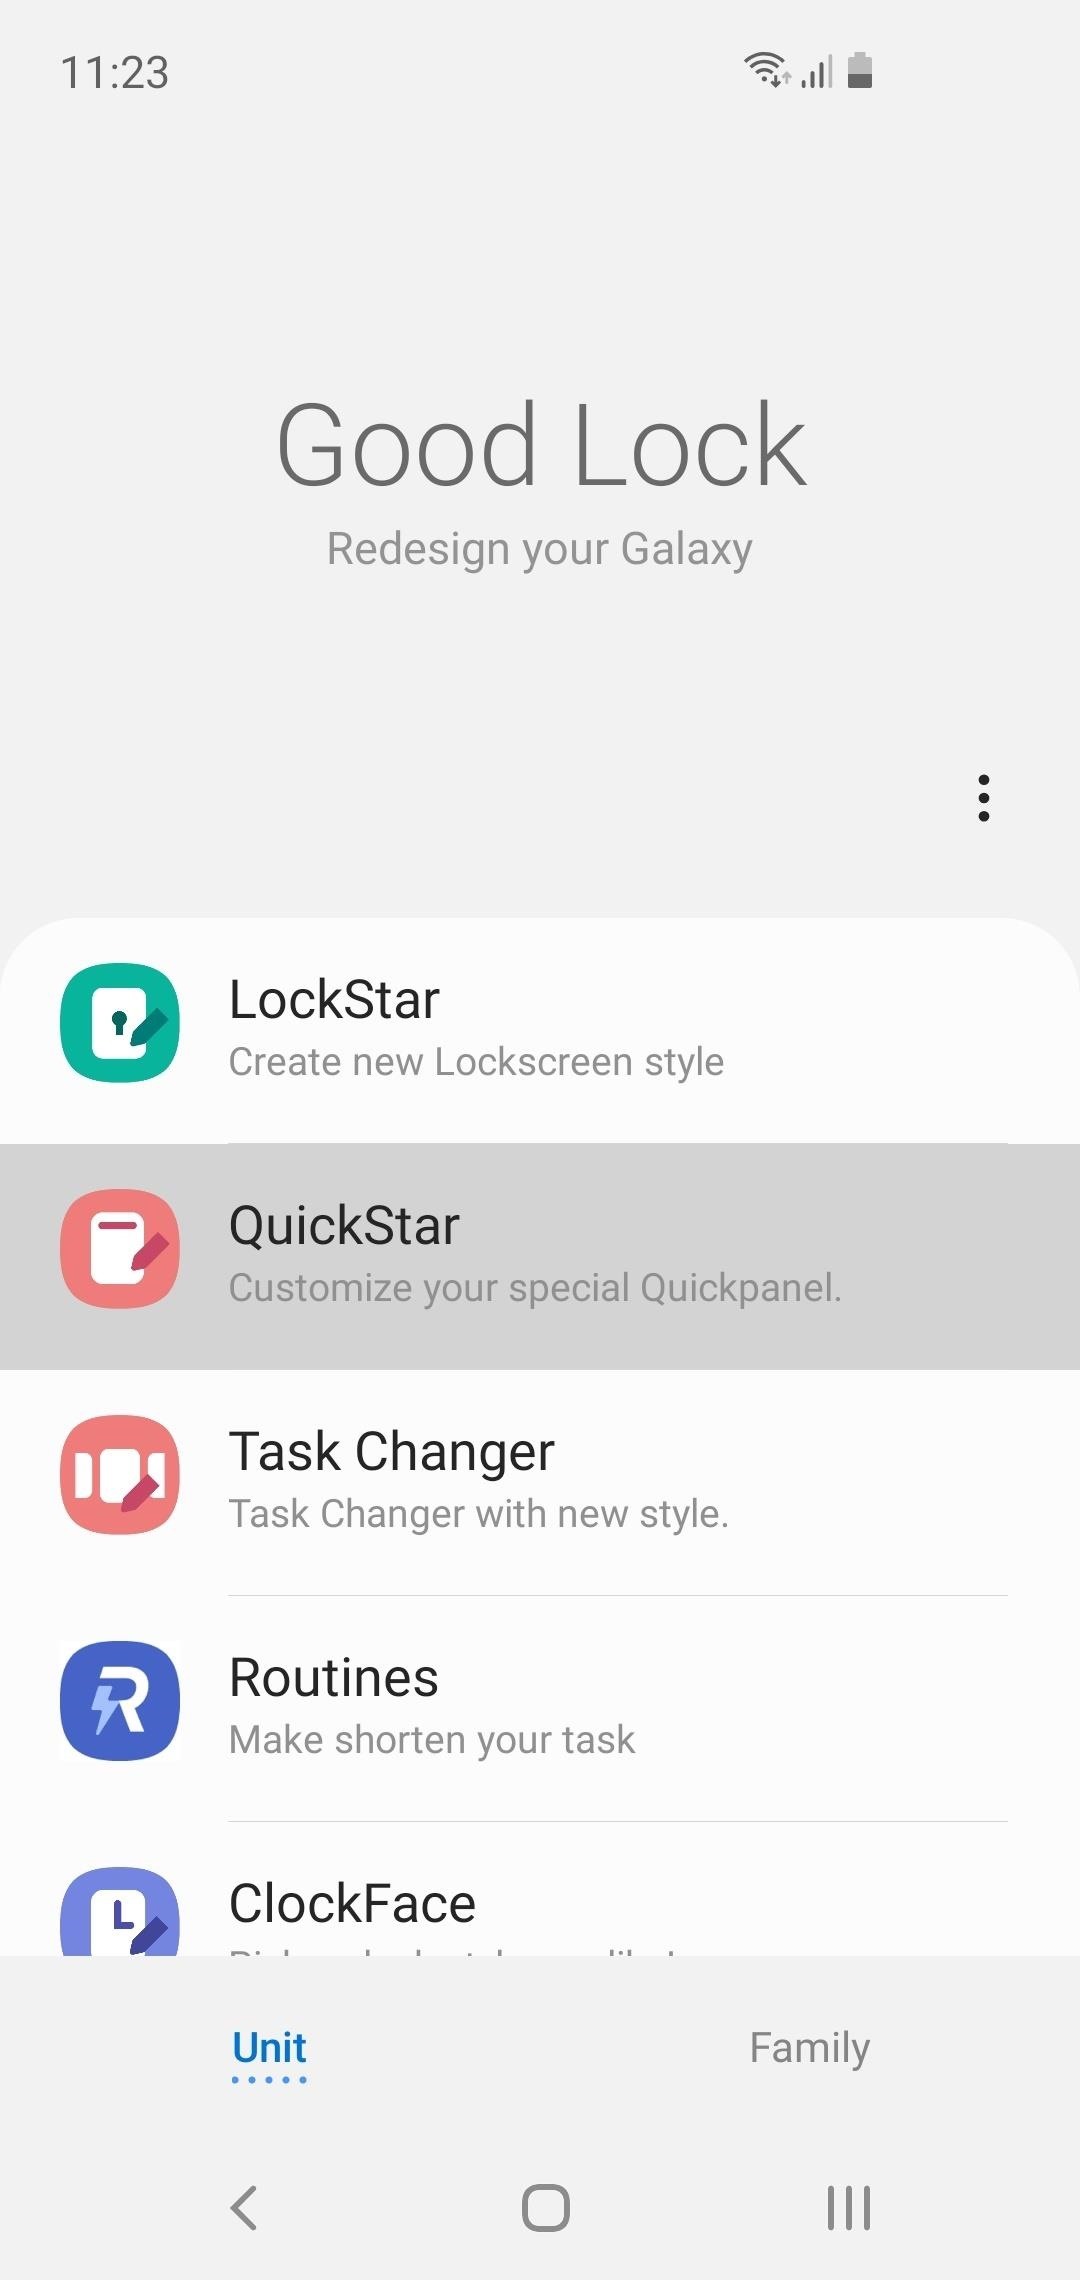
Step 2: Install QuickStarNow, open Good Lock from your app drawer. Towards the middle of the screen, tap "QuickStar," then press "Install" on the following page. Once installed, head back to Good Lock and tap "QuickStar" again. If nothing happens and you get redirected to the QuickStar installation page again, you'll have to sideload the new version from the link below:APK Link: QuickStar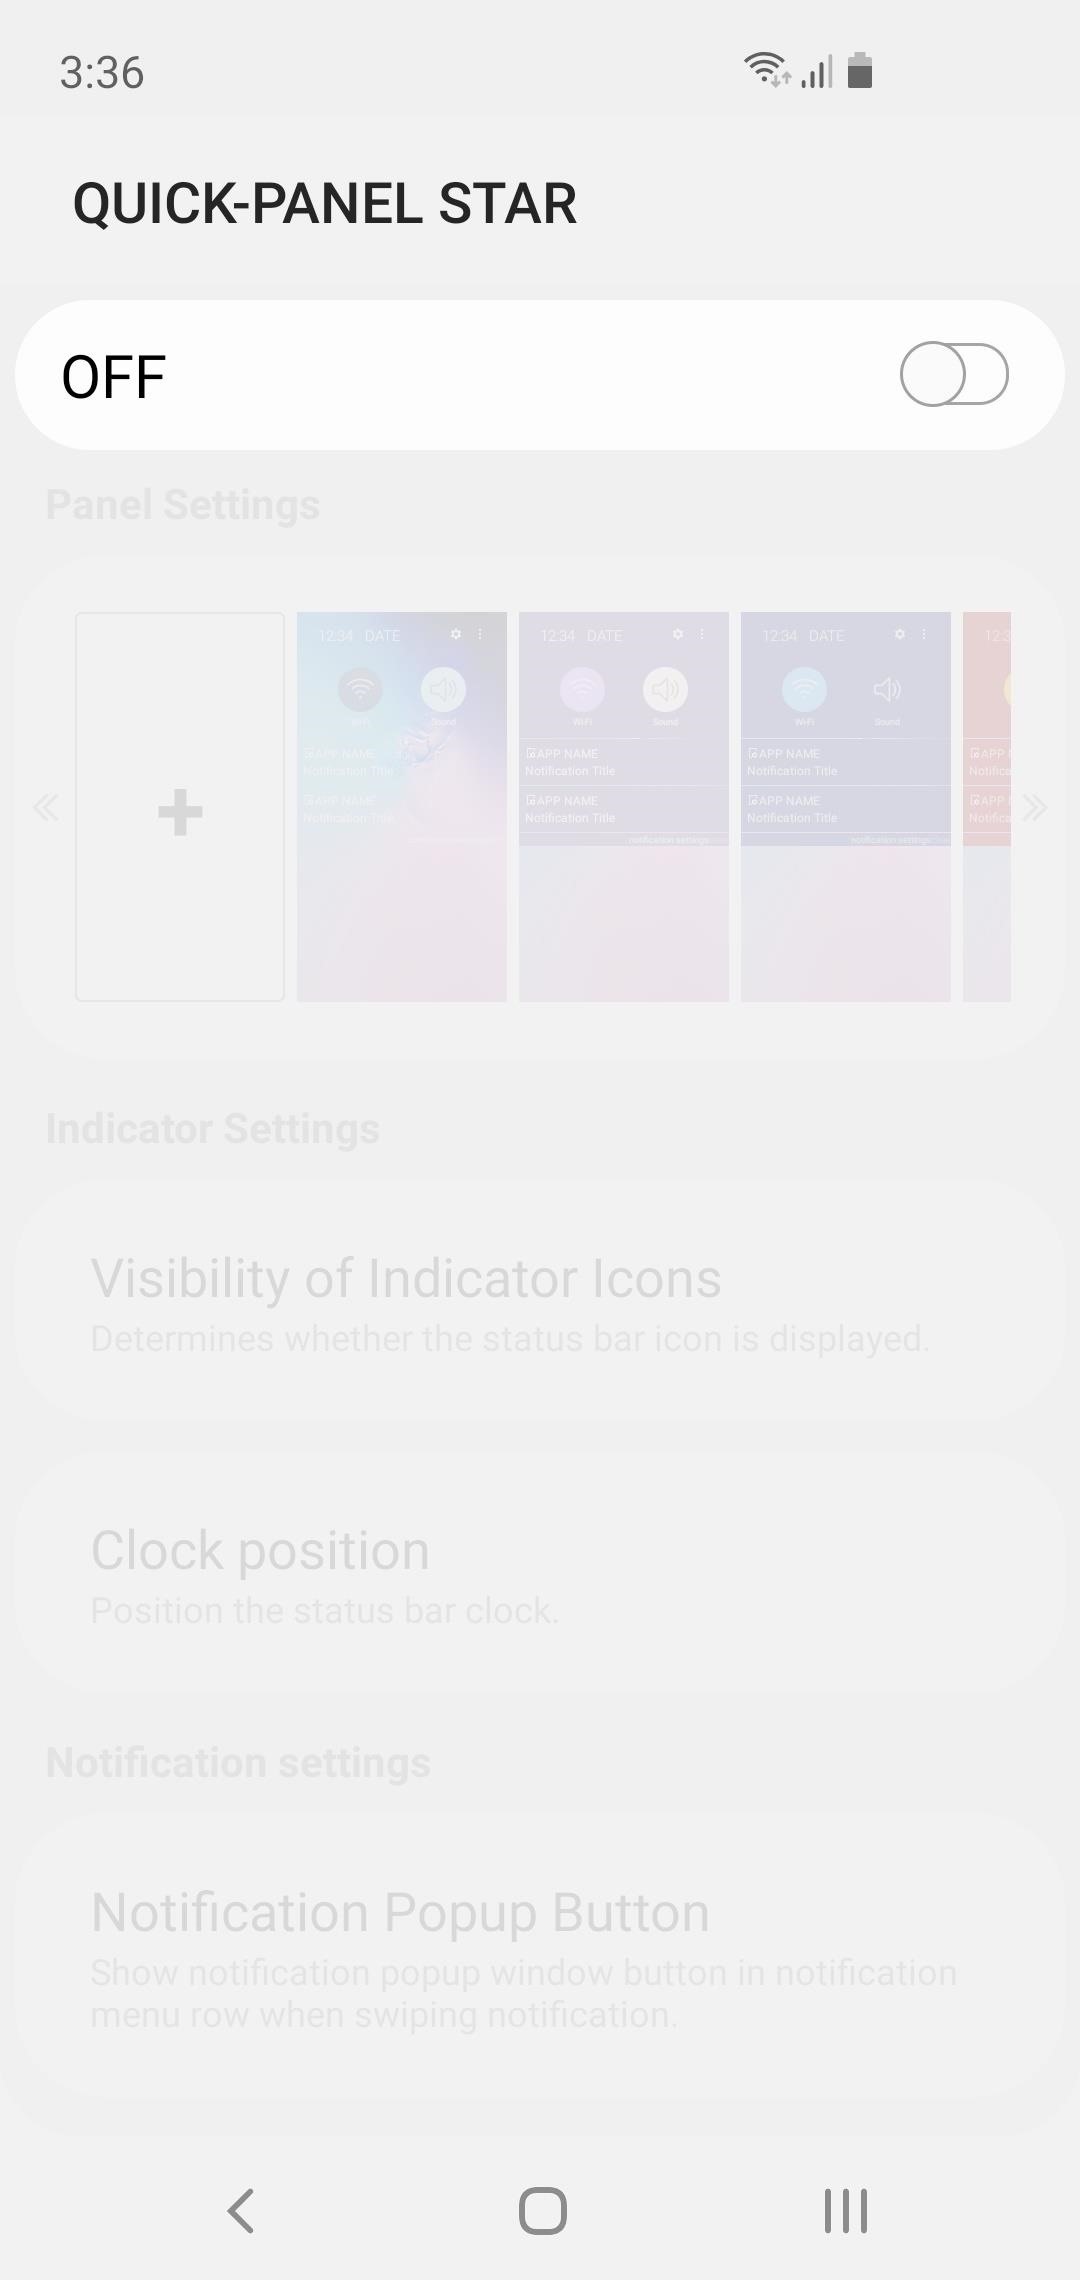
Step 3: Move the Clock Back to the RightWith everything installed, open the QuickStar menu by selecting it from Good Lock's main page. Next, tap the toggle at the top of the screen to enable the plugin, then select "Clock position" and choose "Right." Your clock will instantly move back to the right side of the screen!
Method 2: SystemUI Tuner (Requires ADB)This second method gives you access to several extra features from an app called SystemUI Tuner. Among these are the ability to disable any status bar icon, change notification snooze times, and many others. But to use this method, you'll need the following:USB data cable Windows, Mac, or Linux computer
Step 1: Install SystemUI TunerThe ability to move the status bar clock is a new feature in an awesome app called SystemUI Tuner. To get the latest version, start by heading to the app's Play Store page at the link below and installing it.Play Store Link: SystemUI Tuner (free)
Step 2: Download ADB on Your ComputerFor the app to be able to alter your status bar clock, it will need elevated privileges. The only way to accomplish this without root is by sending an ADB command from your Mac or PC.So next, download ADB for your operating system using one of the links below. Once you have the ZIP file, extract it to a location you can access easily.Download ADB for: Windows | Mac | Linux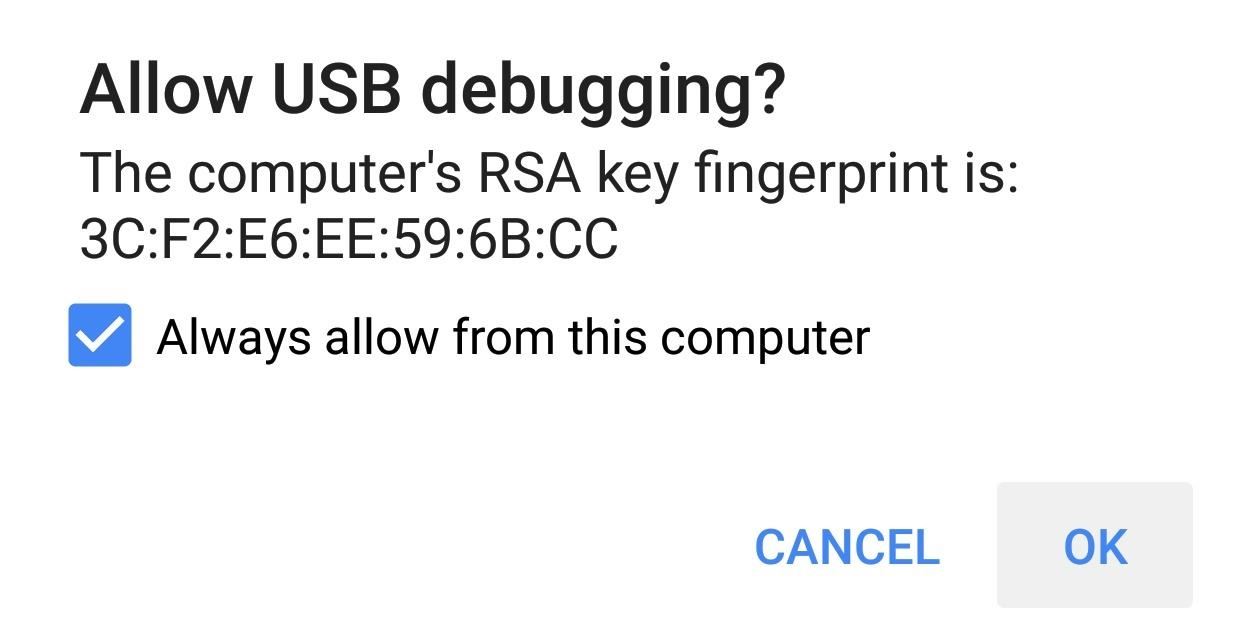
Step 3: Enable USB Debugging on Your PhoneFor ADB to work, you'll have to enable a setting on your phone. But this setting is in a hidden menu, so first, activate Developer Options by going to Settings > About Phone, then tapping the "Build Number" entry 7 times in rapid succession. You'll see a toast message saying "You are now a developer" once successful.Next, back out to the main Settings menu on your phone. At the bottom, you'll now see the newly-unlocked "Developer Options" menu. Select this, then scroll down and enable the "USB Debugging" option. Afterwards, connect your phone to your computer with a USB data cable, then you'll see a prompt asking if you'd like to "Allow USB Debugging." Tick the box next to "Always Allow," then press "OK" on the popup. For more help with this aspect, refer to our full ADB installation guide.
Step 4: Open a Command Prompt in the Right DirectoryFrom here, connect your phone to your computer with a USB cable if you haven't already done so. Next, you'll need to open the "platform-tools" folder inside of the ADB folder you just extracted in Step 2. If you already had ADB installed and aren't sure of its location, search your computer's hard drive for "platform-tools."Once you've found the platform-tools folder, you'll need to copy its full location path. On Windows (and most Linux builds), this can be done by clicking the address bar at the top of the explorer window, then copying the location from there (right-click > "Select All" > "Copy"). For Mac users, open the platform-tools folder in Finder, press cmd+opt+p to display the path location of the folder, then right-click the "platform-tools" badge at the bottom of the window and choose "Copy as Pathname." Now, open the command prompt. To do that on Windows, press the Windows key on your keyboard, type "cmd," then hit enter. On Linux or Mac, simply open "Terminal" from your Applications folder.With the command prompt open, type in "cd" (without the quotes), followed by a space, then hit ctrl+v (or cmd+v) to paste in the platform-tools folder location you copied earlier. In the end, the command should look similar to the one below, so if it does, go ahead and hit enter on your keyboard so that the command window will be operating in the right directory.
Step 5: Grant Elevated Privileges to SystemUI TunerWith the command prompt now operating in the right directory, copy the following command in its entirety, paste it into the prompt, then press enter. adb shell pm grant com.zacharee1.systemuituner android.permission.WRITE_SECURE_SETTINGS If you receive an error and you're using Mac, Linux, or Windows PowerShell, use this command instead: ./adb shell pm grant com.zacharee1.systemuituner android.permission.WRITE_SECURE_SETTINGS If neither of these commands work, there's either a problem with your ADB installation or you haven't enabled USB Debugging in Developer Options. Refer to our full ADB installation guide for help.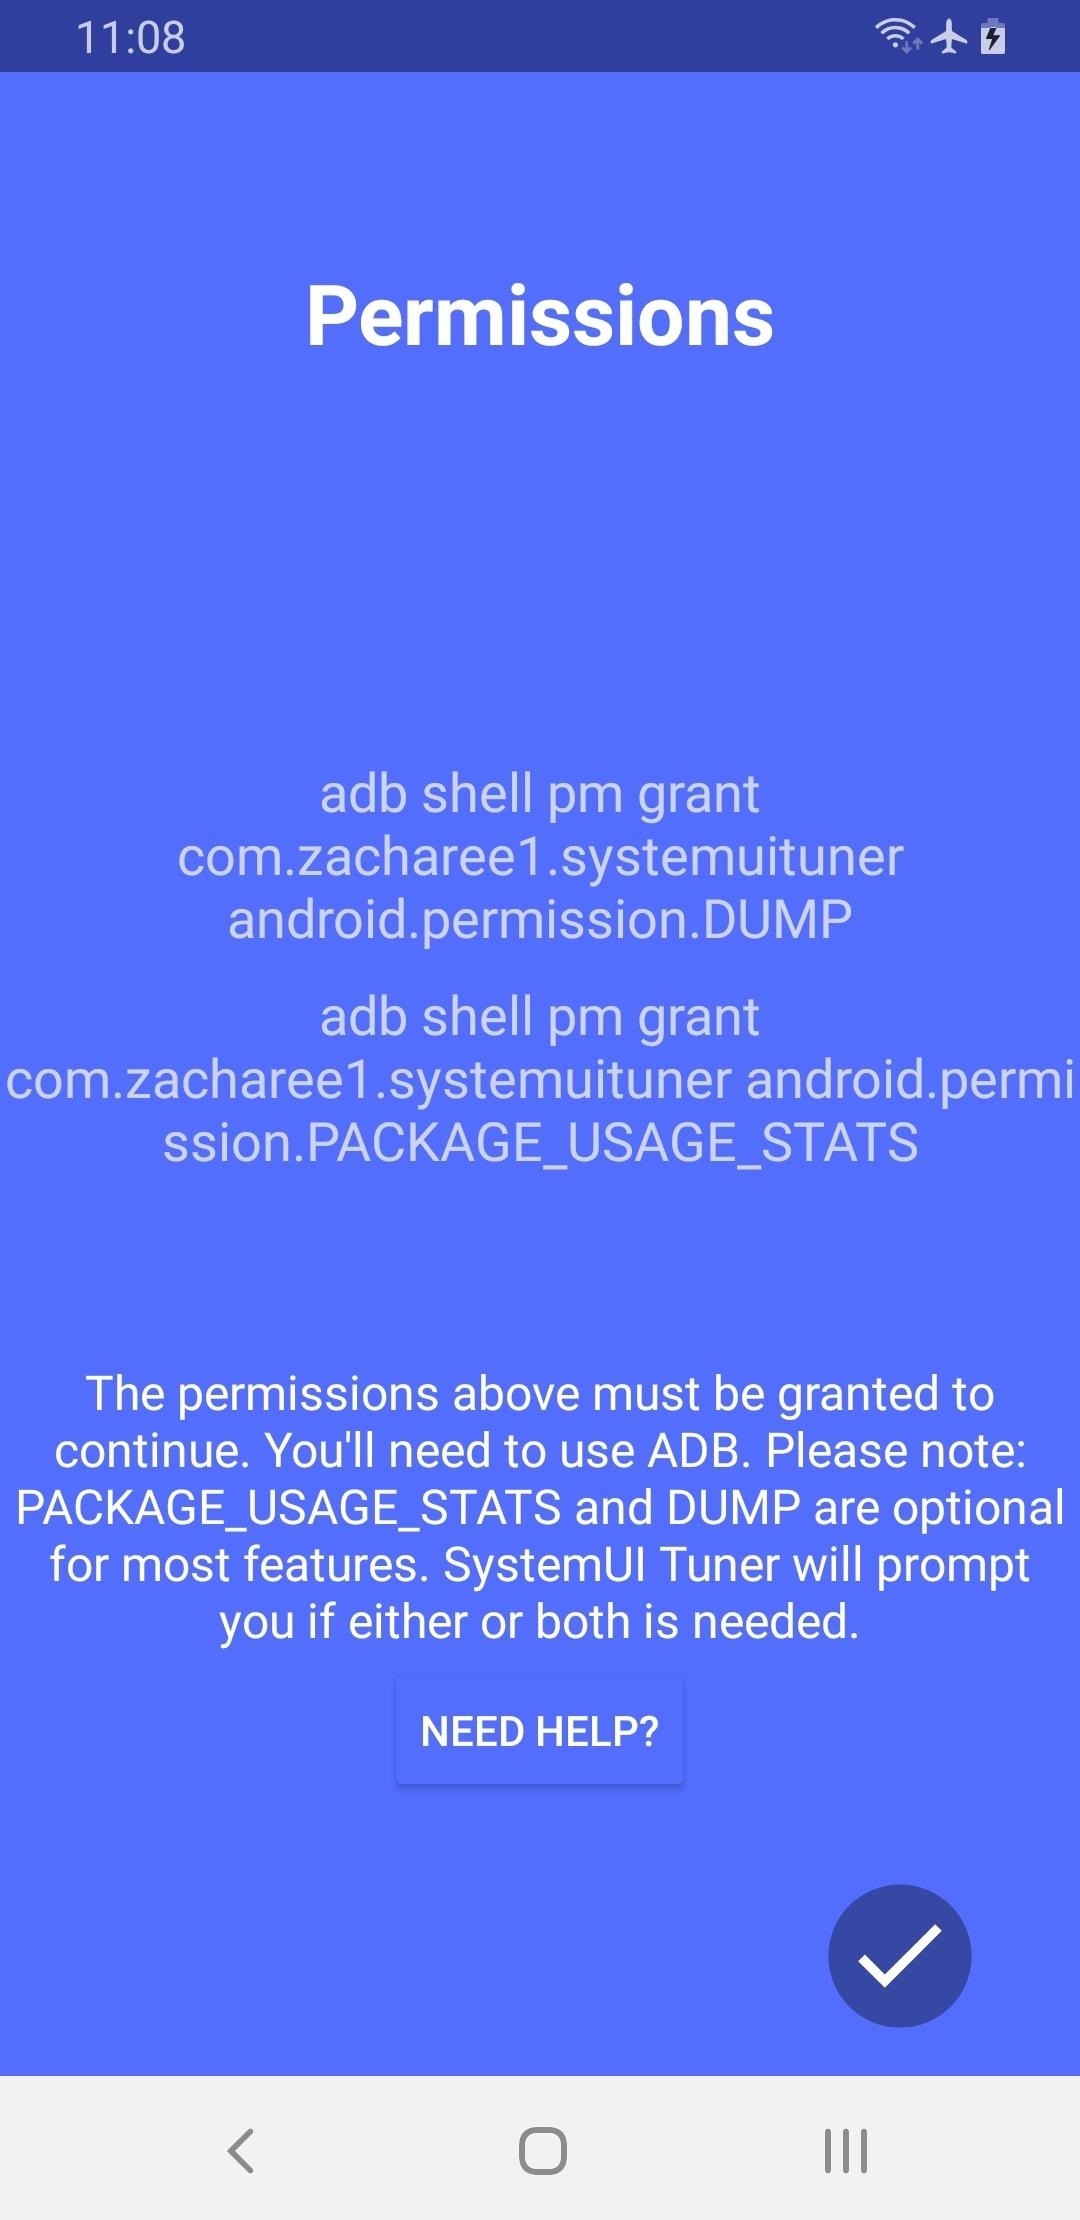
Step 6: Move the Clock Back to the RightNow, open the SystemUI Tuner app on your phone, agree to the terms of service, then tap the check mark in the bottom-right a few times to flip through the initial setup tour.On the last page, you'll be asked to grant some additional permissions over ADB — however, you've already granted the only permission the app needs to move the status bar clock to the right, so tap the check mark again anyway, then hit "Yes" on the popup to move on. At this point, you'll likely have to reopen the app from your app drawer. Once you do, tap "To the tweaks" on the main screen, then select "TouchWiz" on the next page and choose "Miscellaneous" on the one after that. Now, select "Status Bar Clock," then choose "Right" as the position and your clock will instantly move back to the top-right corner! Don't Miss: More Tips & Tricks for Your Galaxy on One UIFollow Gadget Hacks on Pinterest, Reddit, Twitter, YouTube, and Flipboard Sign up for Gadget Hacks' daily newsletter or weekly Android and iOS updates Follow WonderHowTo on Facebook, Twitter, Pinterest, and Flipboard
Cover image and screenshots by Dallas Thomas/Gadget Hacks
If you play Farmville, you want to have access to it wherever you ware so that your crops never need go unharvested! Unfortunately, the iPad will not allow you to play Flash games out of the box. Well now it can! This video will show you how to use an app called CloudBrowse to play Farmville on the iPad.
Free Download FarmVille App for iPad, iPhone, iPod Touch
This is a simple tutorial on how to ssh into your iPhone, iPad or iPod touch What you will need: 1. An SSH program If your using OSX you can use: Cyberduck or Transmit If your using Windows you can use: PuTTY or WinSCP. 2. Wi-Fi 4. OpenSSH installed via Cydia or Rock. Lets get started!
HOW TO: SSH Into Your iPhone, iPad and iPod Touch Running iOS
Do you want to root your OnePlus 7 phone without installing TWRP Recovery?If yes then here's a guide for you on how to root OnePlus 7 with Magisk Patched Boot Image.. We have already posted a guide to root OnePlus 7 Pro, and if you have OnePlus 7 pro the do check out the guide.
How to Root Your OnePlus 6T with Magisk « OnePlus :: Gadget Hacks
The iPhone's pre-installed Phone app makes it easy to call the people you talk to most by adding them to your Faorites list. With favorites, you just tap the name of the person you want to call, and the call starts. Here's what you need to know to add and manage names and numbers in your iPhone's Favorites list.
How to Create a List of Favorite Contacts on an iPhone
News: Google Fi Finally Added Support for RCS Messaging How To: Use FaceTime's Group Chat on Your iPhone to Talk to More Than One Person at a Time News: Google Docs Meets Instagram in Google's Next Social App News: Here's What's New with Samsung's Messages App in One UI
News: Google Finally Releases ARCore 1.0 for Android Users
Here's how you can reset your Android box back to factory new in case its firmware goes a little funky and you've Bricked your box. My box got into a Restricted Profile Mode and I could not get it
Android Basics: How to Take a Screenshot on Any Phone or
Samsung always puts a lot of bloatware in its devices. It puts so much that a 16 GB Galaxy S4 or Galaxy S5 has only 7 GB of memory left for the user to use. Other 8-9 GB are all taken by Samsung' s bloat and features that not all can appreciate. Some even call them gimmicks.
How to Remove All Bloatware on Your Galaxy Note 9 « Android
News: The Latest Razer Phone 2 Leaks Suggest Project Linda Might Actually Happen Razer Phone vs. Galaxy Note 8: Comparing the Android Phones with the Best Specs News: Razer Phone Officially Available for Order — Here's Where You Can Buy It Now How To: Everyone Should Buy a Gaming Phone — Not Just Fortnite Junkies
Customize Your USB Keyboard with a DIY Illuminated Base with
Google hacking, also named Google dorking, is a computer hacking technique that uses Google Search and other Google applications to find security holes in the configuration and computer code that websites use.
How to Make $100,000? Just Hack Google Chromebook
Media controls take priority. Prior to Android Pie, when you were listening to music and wanted to adjust the volume of only the music, there wasn't a simple way of doing so.
Android 9 Pie vs Android 8 Oreo: what's new and what's
Samsung Galaxy S8 User Guide: Tips, Tricks and How-Tos for finding apps to put on your Galaxy S8, but Galaxy Apps might be a better fit for you, depending on how you plan on using your new
Precautions to Unlock iPhone 3. It is really important to look for the unlocking process that's appropriate to your phone model. Thus, to unlock iPhone 3GS you definitely need to include this name in your order. Any other versions will not work. The method how to unlock iPhone 3 can be used even after you've gone through firmware updates.
Full iPhone Unlocker for IMEI | Fastest Unlock iPhone for $29
AD
iphonesunlockingpro.com
Report Ad
Official Unlock iPhone XS, MAX, XR, X, 8, 8 Plus, 7, 7 Plus, 6S, 6, 5S, SE, 5, 4S, 4G, 3G
iTunes offers the ability to convert your songs into a variety of formats-- AAC, MP3, WAV, AIFF, and Apple Lossless -- each with their own benefits. No matter what format you prefer, iTunes makes it easy to convert songs while still keeping your original version on your computer in case you change your mind.
Create and manage ringtones in iTunes - Apple Community
0 komentar:
Posting Komentar